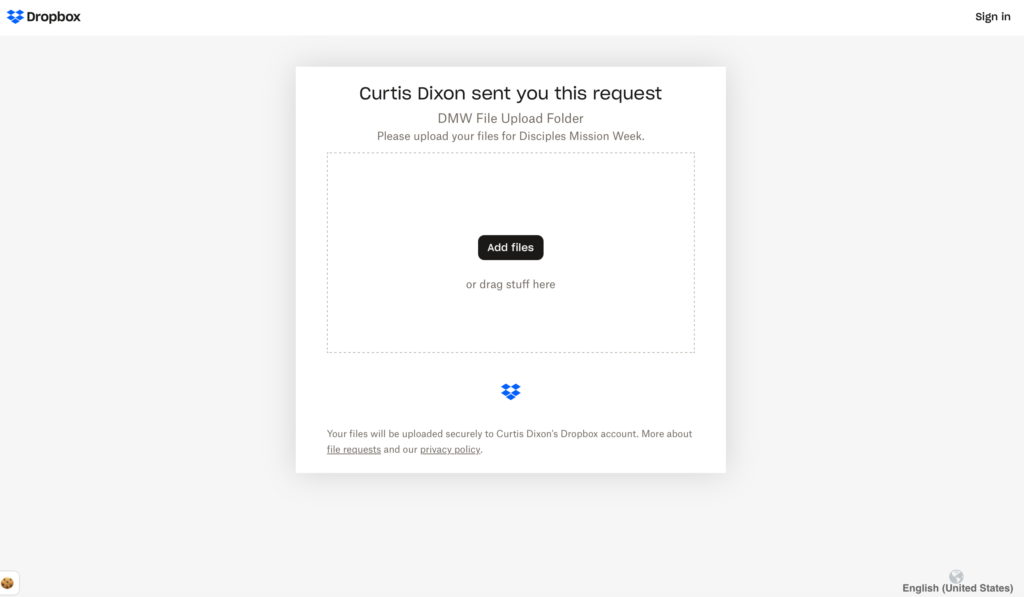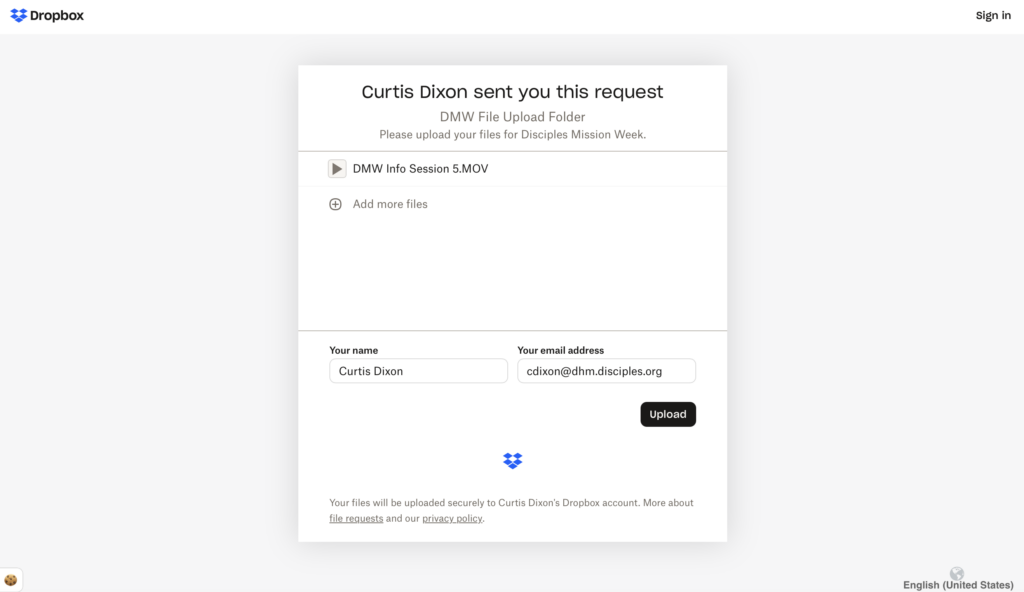
This step-by-step guide will assist you in uploading your materials for Disciples Mission Week.
1. Click the Dropbox link provided to you, which will take you to DMW Upload Folder.
2. You will have a choice of TWO folders: Click the ONE folder you need to insert files.
- DMW Promo Materials (Pre-Promo Files)
- DMW Post-Promo Materials (Post Event Files)
3. In the folder you chose, click Create A Folder.

- Type in Name of Congregation-City-State Abbreviation.
- Example: Central City CC-Lexington-KY

4. Your folder is now created. (See below)

5. Click Upload to ingest your files, which may include: pictures, videos, and/or stories. (See above)
- DMW Assets Formats
- Videos Files = MP4 files only, 4 GB max size
- Files = PDF up to 100MB (recommended)
- Photos = JPG or PNG only
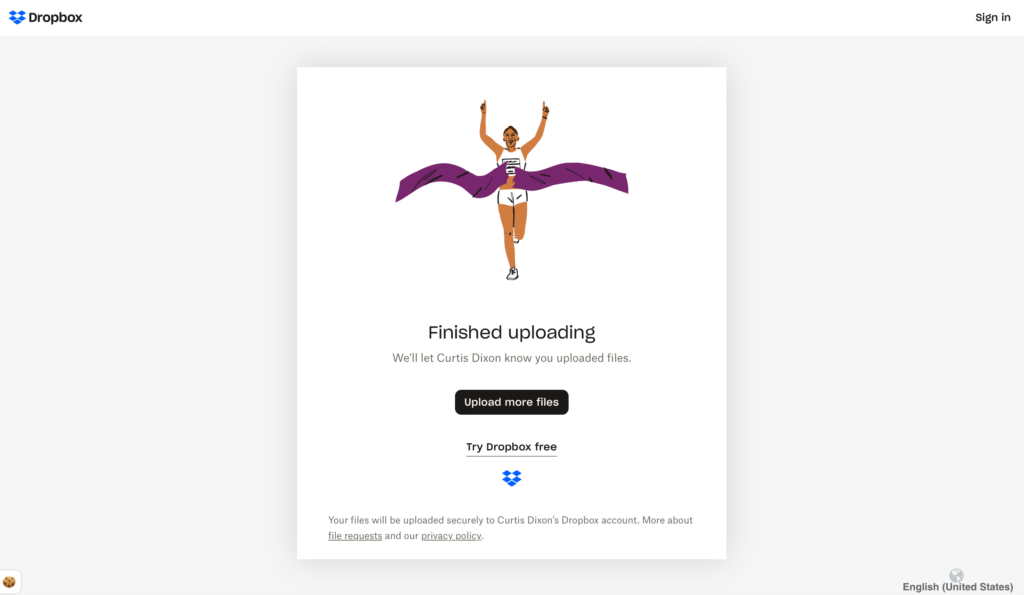
- Once you have chosen your files, there will be a pop-up screen that will appear. It will let you know the status of your files and if they have been Completed, Skipped or Failed. (See below)

- Once all your files have been uploaded, you can X out of the screen and you are done uploading your assets.